TABLE OF CONTENTS
Preamble
This procedure shows how to share files or folders that should be available to ANY public recipient (i.e., "Anyone" link types).
If you are sharing to explicit named recipients including internal or external users, you do NOT need to follow this procedure. Simply share the items and use the "People you choose" link type from the original SharePoint or OneDrive location.
Items must be copied, moved or uploaded to the Community Sharing site. The Community Sharing site is the only SharePoint site that allows the creation of an 'Anyone' link so that files or folders can be shared with families or other public contacts.
NOTE: If you are sharing with a specific external person, you can share to them directly via your department site, there is no need to upload the file / folder to the Community Sharing site.
1. Copy/Upload Files/Folders to the Community Sharing Site
Two procedures have been written depending on whether the file/folder source is a SharePoint site, or the file/folder has been saved on your device in file explorer.
A) The Source File/Folder is Saved On A SharePoint Site (Or My OneDrive)
1.1. First navigate to the JSR Staff Intranet
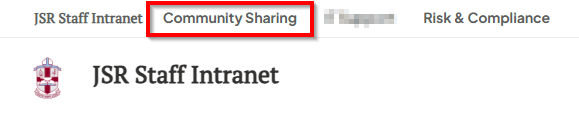
1.2. Select the Community Sharing site from the navigation at the top of the page
1.3. Select the document library you want to copy to, in this example I am using Student Admin. Then select Pin to Quick Access. This will help us in the next step when we copy the file / folder. You only have to do this once per document library.

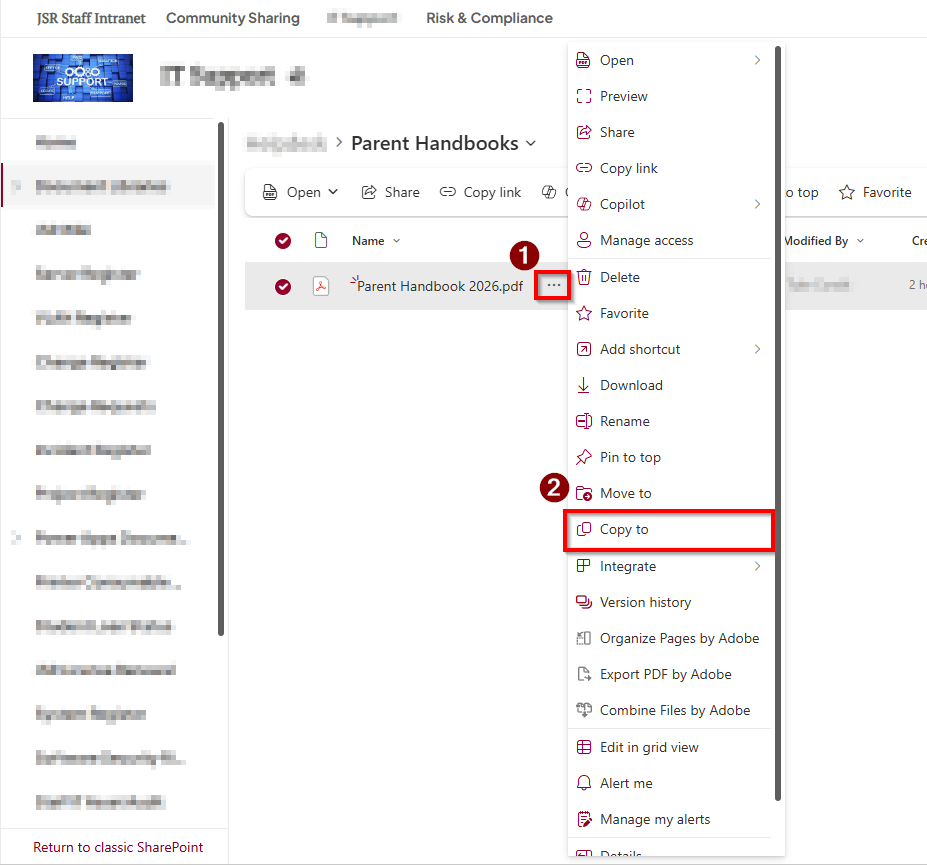
1.4. Navigate to your department site and find the file / folder you want to copy. Select the three horizontal dots then select Copy to
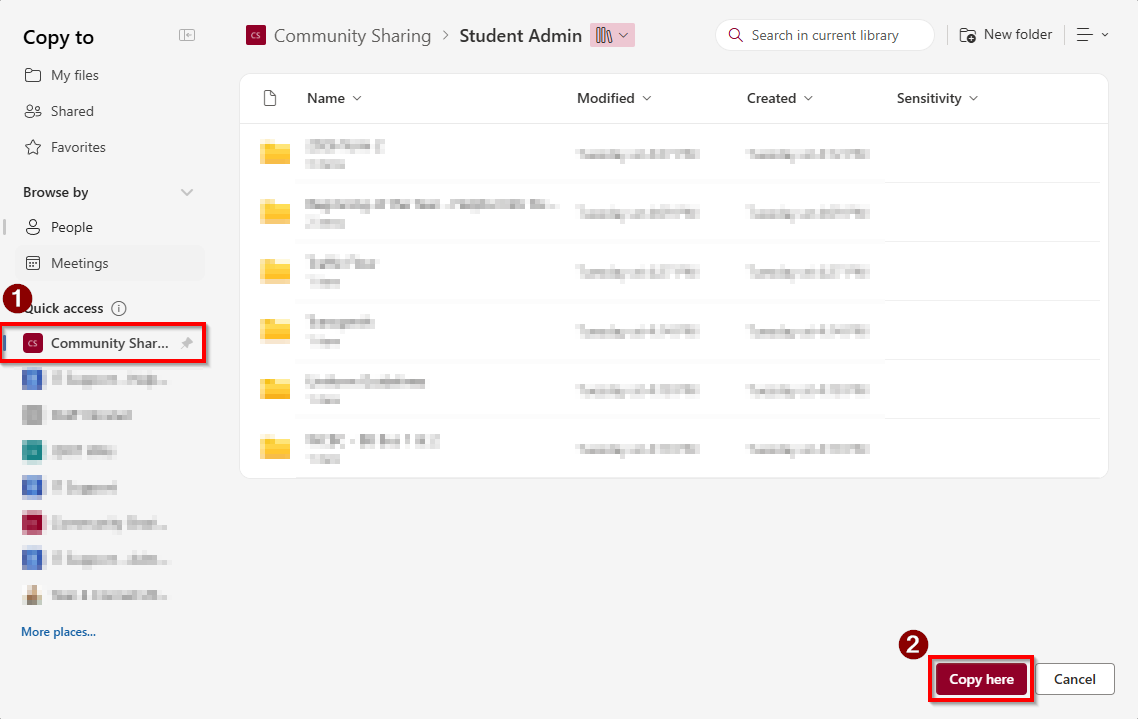
1.5. Select the Community Sharing site from the Quick Access menu. Then select the folder you want to copy to, then select Copy here
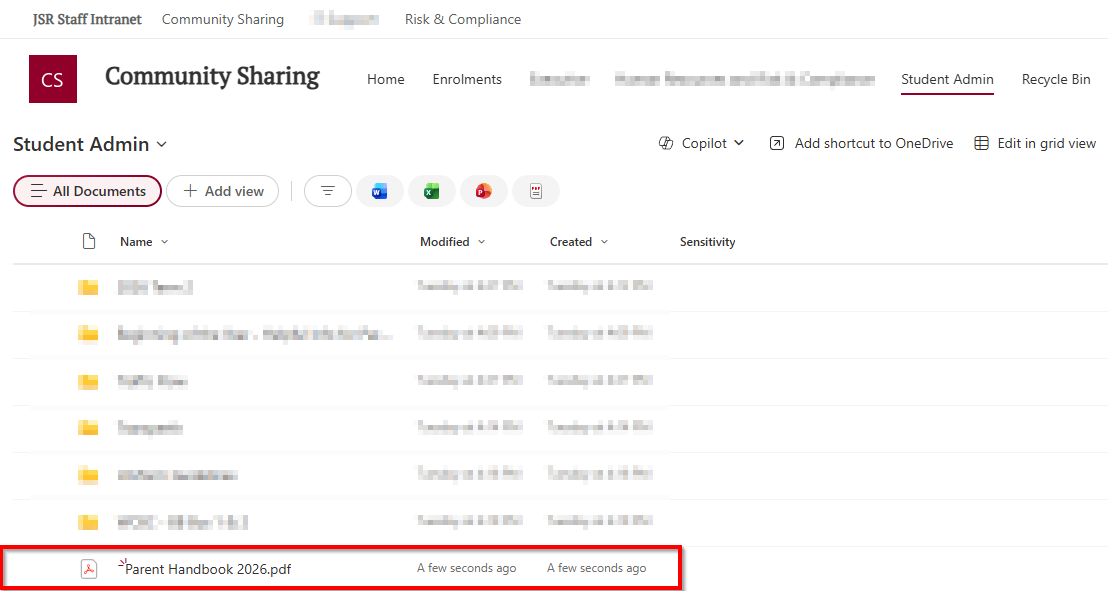
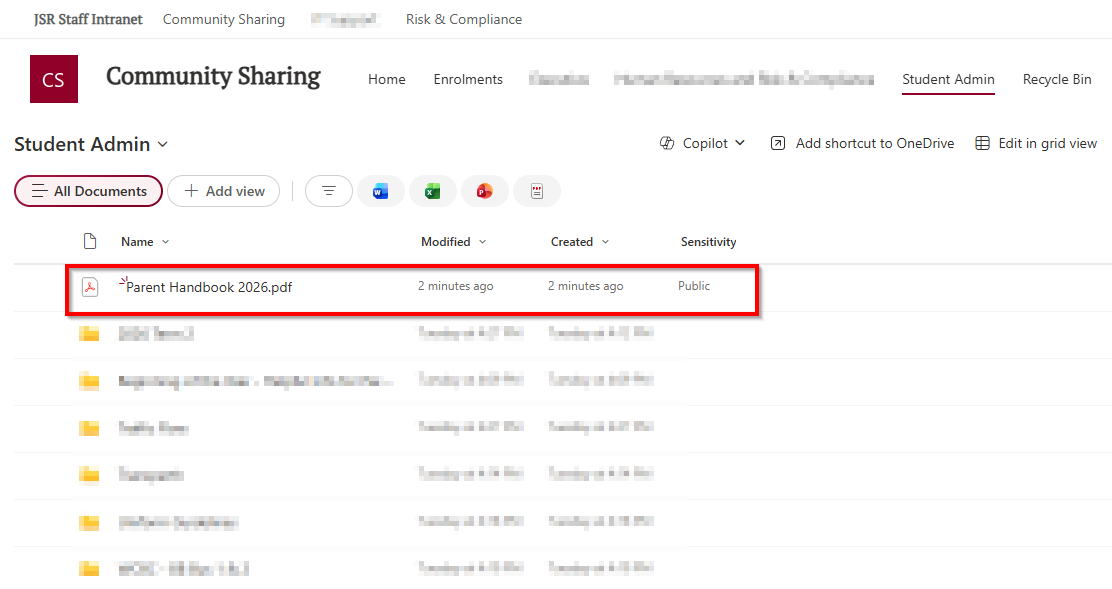
1.6. You will now see the file that you copied in the Community Sharing site under the document library you selected:
B) The Source File/Folder Is Saved On My Device (or Network Shares) Via File Explorer
1. Navigate to the Community Sharing site and select the document library you are intending to upload to, as shown above.
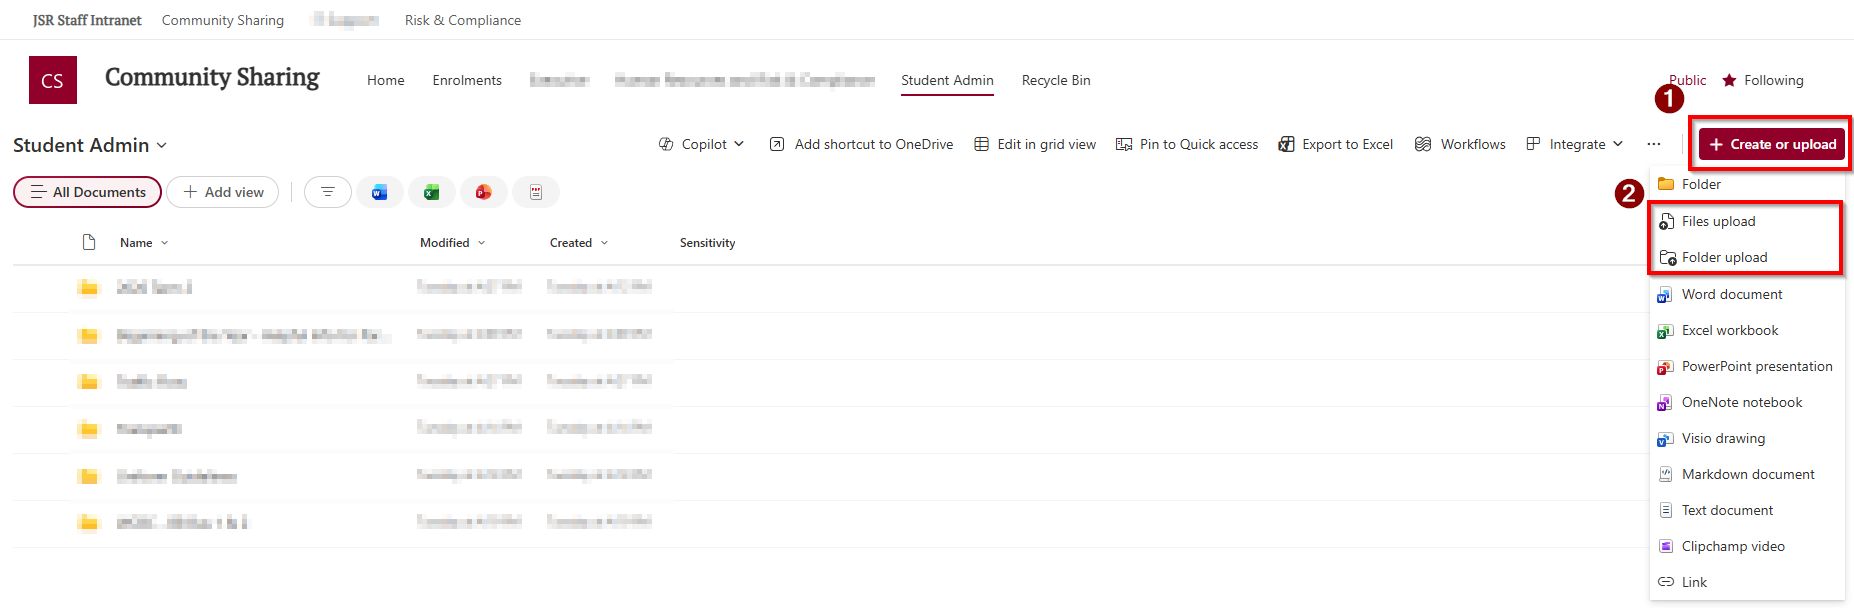
2. Select Create or upload then select either Files upload or Folder upload.
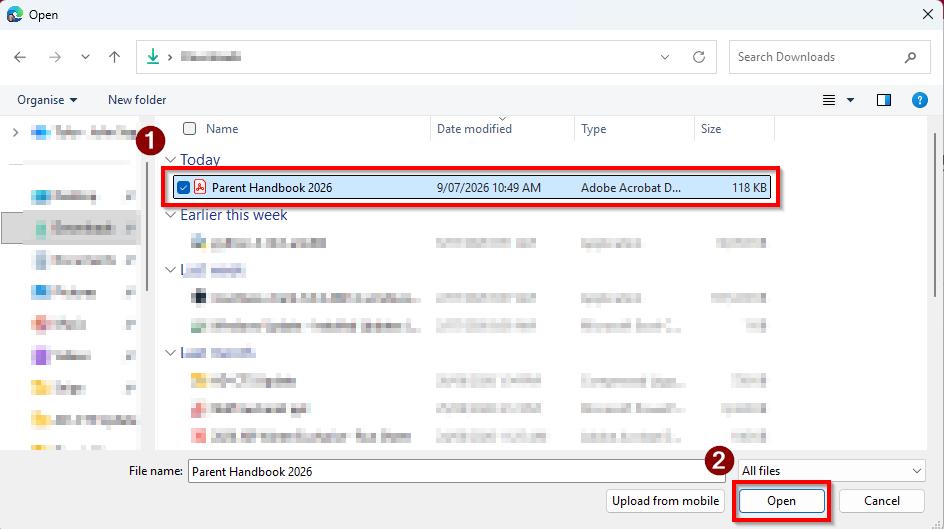
3. Select the file / folder you want to upload, then select the file / folder and click Open
4. You will now see the file that you uploaded in the Community Sharing site under the document library you selected:
2. Share The Copied File/Folder
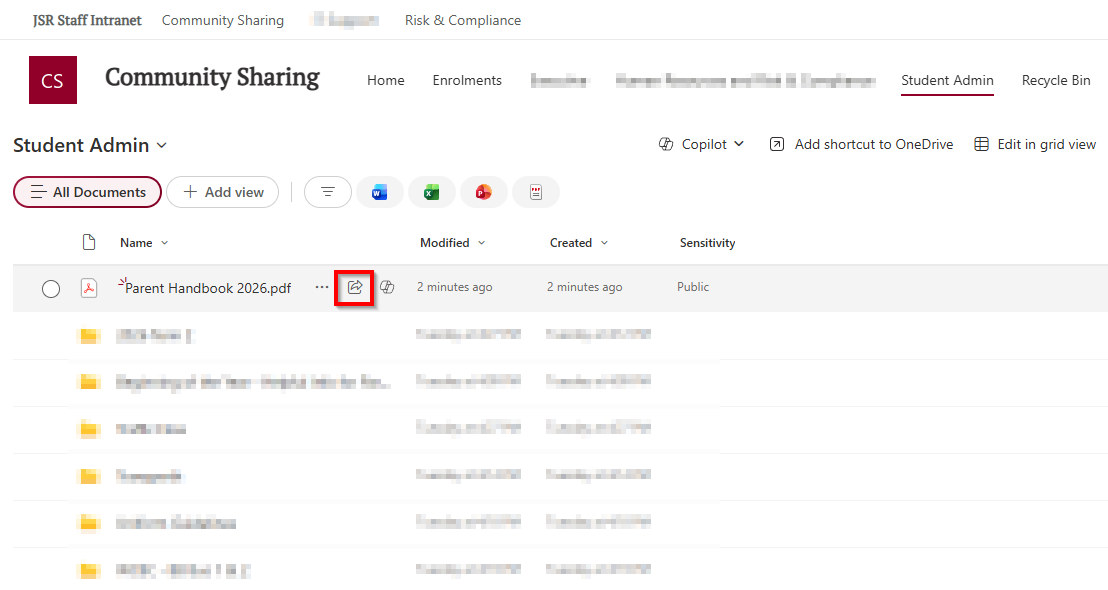
2.1. First click the Share button on the file / folder.
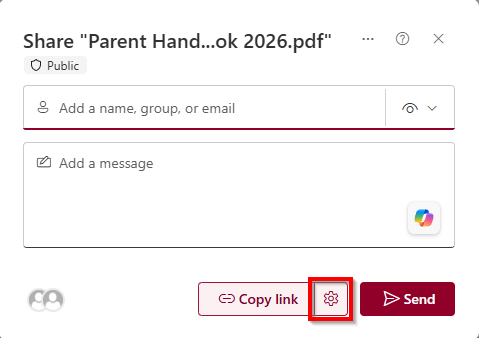
2.2. Click the Link Settings button
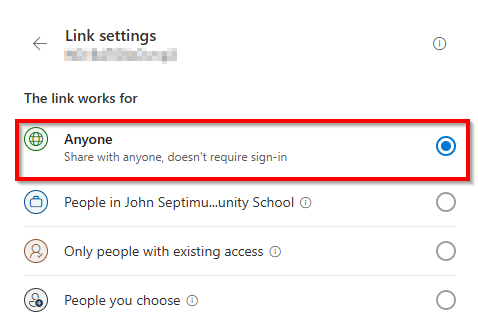
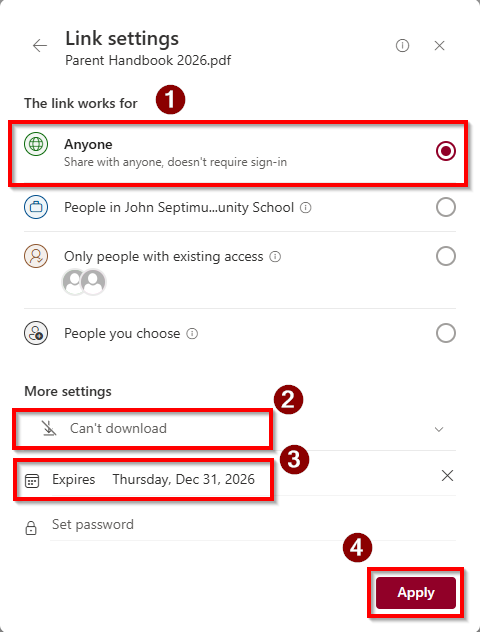
2.3. Select the Anyone option and specify the permissions to Can't download. It is best practice to set an expiration date for the link, please do this when possible.
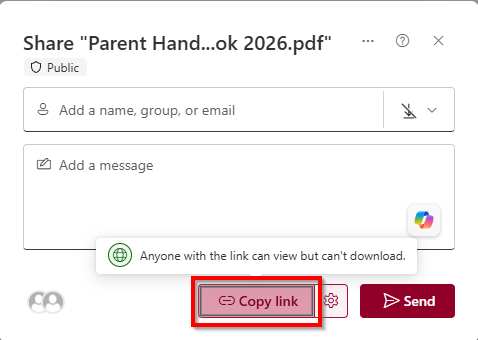
2.4. Finally click Copy link. This link can now be used in emails or other documents to link to this file / folder: